
Articles

Anti-Mould Ceiling Paint Buying Guide: What Actually Matters (So You Only Paint Once)

24/02/2026
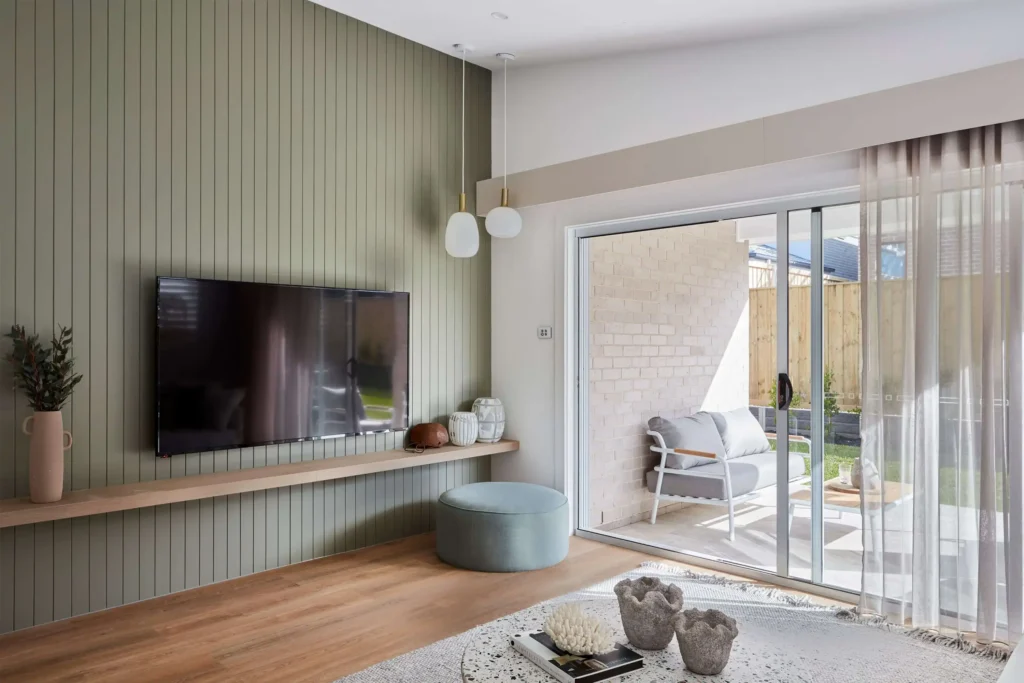
Ceilings are unforgiving. They catch raking light, show every patchy overlap, and in bathrooms and laundries they can become the first place mould and mildew reappear. The frustrating part is that most ceiling paint problems are not caused by “bad paint”, they are caused by choosing the wrong paint system for the room, skipping key prep steps, or buying based on a single claim (like “anti-mould”) without checking the rest of the performance box.

This guide is built for Australian and New Zealand homes where humidity swings, condensation, and winter drying habits can make mould a repeat offender. You will learn exactly what to look for in an anti-mould ceiling paint, how to choose based on room type and substrate, and how to avoid the most common reasons ceilings fail early.

If you are evaluating the new Wattyl I.D Advanced Anti-Mould Ceiling Flat launch, this guide will also show you where it fits and how to specify it properly in a real-world job.

Why ceilings are different to walls (and why the wrong paint shows fast)

A ceiling is not just “a wall turned sideways”. It behaves differently:

  • Light hits it at low angles, so roller marks and patchiness stand out more.
  • Steam and warm air rise, so bathrooms, laundries, kitchens, and top-floor rooms load moisture into the ceiling first.
  • Ceilings collect airborne contaminants (soap residue, cooking oils, dust) that can feed mildew in damp zones.
  • You often paint them less frequently, so you need durability and stability, not just a decent first coat.

That is why choosing the right ceiling paint is about a balanced spec, not one headline feature.

What “anti-mould” ceiling paint actually does (and what it does not)

Anti-mould paints are designed to inhibit mould and mildew growth on the coating film. That typically means the paint includes mould inhibitors that make it harder for mould to establish on the surface.

What it does:

  • Helps prevent mould and mildew from growing on the painted surface when the room experiences humidity and condensation.
  • Supports a cleaner-looking ceiling for longer in moisture-prone areas.

What it does not do:

  • It does not fix the root cause of mould (ventilation, moisture ingress, condensation, leaks).
  • It is not a magic cover-up for active mould.
  • Painting over mould almost always leads to recurrence.
  • It is not a substitute for correct prep and correct dry times.

Think of anti-mould paint as a high-value insurance layer, but only when the room conditions and prep are handled properly.

The 9 things that actually matter when buying anti-mould ceiling paint

Below is the buying checklist that separates a ceiling that stays clean for years from one that starts looking tired in months.

1) Mould and mildew resistance (obvious, but qualify it)

You want mould inhibition for:

  • Bathrooms, ensuites, powder rooms
  • Laundries
  • Kitchens with poor extraction
  • Homes with consistent condensation issues
  • Rental properties where ventilation habits are unpredictable

Tip: In genuinely wet areas, consider pairing anti-mould ceiling paint with broader humidity-defence products on walls and trims.

2) Finish: flat means forgiving, but it must be a quality flat

A flat ceiling finish is popular for a reason:

  • It reduces glare and helps hide minor substrate imperfections.
  • It makes ceilings look more uniform under downlights and natural light.

But not all flats are equal. A cheap flat can look chalky, mark easily, and show patchiness. A premium ceiling flat should still deliver:

  • Consistent sheen level (no flashing)
  • Strong hiding power
  • Clean film formation without roller drag

3) Coverage and hiding power (the real time and money saver)

Ceiling painting costs are often driven by labour and time on ladder, not just product cost. Strong coverage means:

  • Fewer coats
  • Faster completion
  • Less chance of lap marks from overworking a drying film

Look for claims like “excellent coverage” and back it with technique: correct roller nap, correct loading, and maintaining a wet edge.

4) Low splatter and easy application (your room protection factor)

Ceilings create mess. Low splatter reduces:

  • Speckling on walls, fittings, floors
  • Cleanup time
  • Risk of spotting on adjacent surfaces you were not planning to repaint

It is a practical feature that impacts job quality.

5) Low VOC and low odour (especially for occupied homes and tight spaces)

Ceilings are often painted while people are still living in the home. Low VOC and low odour matters because:

  • You can re-occupy rooms sooner
  • It is easier to ventilate safely in winter
  • It is better suited to bedrooms, nurseries, and apartments

If you are quoting work in commercial or strata settings, low odour can be the difference between a smooth job and complaints.

6) Moisture tolerance (room suitability is everything)

Some ceiling paints are intended for general living areas. Wet areas require a different standard. If the room has frequent steam, you want a ceiling coating designed for:

  • High humidity exposure
  • Frequent condensation cycles
  • Cleaning tolerance where needed (bathrooms can get misted with cleaners)

For wet areas within the Wattyl I.D Advanced family, you can consider the dedicated wet-area ceiling option: I.D Advanced Kitchen & Bathroom Ceiling Matt.

7) Stain management (the silent ceiling killer)

Even if mould does not return, ceilings can stain from:

  • Nicotine and smoke
  • Cooking oils
  • Water staining from old leaks
  • “Ghosting” from thermal bridging and dust patterns

Anti-mould paint does not automatically solve stains. If you are dealing with staining, you may need a stain-blocking step in the system before your ceiling finish coat.

8) Compatibility with your substrate (plasterboard, fibre cement, old paint)

The best paint in the world cannot stick to a chalky, contaminated, or unsound ceiling. Your buying decision must include:

  • What the ceiling is made of
  • Whether it has existing paint
  • Whether there is flaking, chalking, or peeling
  • Whether it has been previously cleaned with harsh chemicals that can leave residue

9) Pack sizes and job planning (avoid the mid-job mismatch)

Ceilings look patchy when you stop and start or run out mid-room. Pick a product available in the size that suits your area so you can:

  • Keep your wet edge
  • Maintain colour consistency
  • Avoid emergency top-ups that change batch and drying behaviour

Quick room-based decision guide (what to buy for each ceiling type)

Use this as a fast selector before you overthink it.

Living rooms, bedrooms, hallways

Priorities:

  • Flat finish
  • Excellent coverage
  • Low splatter
  • Low odour, low VOC

In this category, an ultra premium ceiling flat is ideal when you want uniformity and speed.

Bathrooms, ensuites, powder rooms

Priorities:

  • Mould and mildew resistance
  • Humidity suitability
  • Flat finish that stays stable
  • Low odour for tight spaces

If mould is your recurring issue, specify an anti-mould ceiling product and pair it with ventilation improvements.

Laundries

Priorities:

  • Mould resistance
  • Moisture tolerance
  • Better film durability (laundries can be harsh environments)

Kitchens

If there is strong extraction and good ventilation, you may treat it like a general room. If there is frequent cooking steam without good extraction, treat it as humidity-prone.

Rental properties

Priorities:

  • Mould resistance
  • Low odour for quick turnover
  • Strong coverage to reduce labour time

Product spotlight: Wattyl I.D Advanced Anti-Mould Ceiling Flat (the prescribed launch)

For a premium anti-mould ceiling specification, the product to reference is Wattyl I.D Advanced Anti-Mould Ceiling Flat, positioned as an ultra premium, water-based ceiling paint designed to combine a ceiling-appropriate flat finish with practical application benefits.

Key reasons it fits this buying guide:

  • Excellent coverage to reduce recoat time and labour
  • Flat finish for a smooth, glare-free ceiling appearance
  • Low roller splatter to keep adjacent walls and fittings cleaner
  • Low odour for occupied homes
  • Low VOC for indoor air quality considerations
  • Anti-mould and mildew positioning for ceilings in humidity-prone rooms (particularly relevant to bathrooms, laundries, and condensation-prone homes)

If you are linking the product in a blog or specifying it in a scope, use: Wattyl I.D Advanced Ceiling Flat and the broader range context here: Wattyl I.D Advanced Range.

For wet-area ceilings specifically, also reference the dedicated ceiling option: I.D Advanced Kitchen & Bathroom Ceiling Matt.

The ceiling paint system approach (paint choice is only one part)

If you want the ceiling to stay clean and consistent long-term, think in systems:

Step 1: Fix moisture drivers (so the paint can win)

  • Use exhaust fans properly and run them long enough after showers.
  • Improve airflow, especially in older homes.
  • Address leaks or water ingress.
  • Reduce condensation patterns where possible (insulation and ventilation improvements help).

A premium anti-mould paint is a strong finish coat, but it needs reasonable conditions to deliver.

Step 2: Prep properly (this is where most failures start)

Before painting:

  • Remove surface dust and cobwebs.
  • Degrease if there is cooking residue nearby.
  • If mould is present, treat and remove it fully, then allow the ceiling to dry properly.
  • Scrape flaking paint and feather edges.
  • Sand glossy or contaminated areas lightly if needed.
  • Repair and patch, then sand smooth and remove dust.

If you skip prep, you are buying a premium product but installing it on a poor foundation.

Step 3: Prime when required (do not guess)

You generally need priming when:

  • You have new plasterboard or repaired patches
  • You have stains (water marks, nicotine, smoke)
  • The existing paint is chalky or powdery
  • You have mixed surfaces that will flash under a flat finish

When in doubt, do a small test patch and check drying behaviour and adhesion.

Step 4: Apply like a ceiling pro (flat paint still needs technique)

Ceilings punish stop-start painting. For best results:

  • Work in sections and maintain a wet edge.
  • Use the correct roller nap for the substrate (too short can drag, too long can overload).
  • Cut in, then roll while the cut-in is still wet.
  • Do not overwork drying paint. That causes patchiness and roller marks.
  • Keep lighting consistent while you paint, then inspect after full dry.

The bottom line: what to buy and why

If you want a ceiling that looks consistent, stays cleaner longer, and is easier to apply, prioritise the full performance package:

  • Anti-mould and mildew resistance for humidity-prone rooms
  • Premium flat finish for a smooth, glare-free look
  • Excellent coverage to reduce coats and labour
  • Low splatter to reduce mess and clean-up
  • Low odour and low VOC for occupied homes

For the upcoming launch, the prescribed product to feature in your specification and internal linking is Wattyl I.D Advanced Anti-Mould Ceiling Flat, linked here: Wattyl I.D Advanced Ceiling Flat, with range context here: Wattyl I.D Advanced Range.

If the ceiling is in a consistently humid wet area, also reference the dedicated wet-area ceiling option: I.D Advanced Kitchen & Bathroom Ceiling Matt.

Cost-per-job thinking: why the cheapest tin is rarely the cheapest ceiling

If you are comparing products, do not compare only the price per litre. Compare:

  • Coverage per coat
  • Likely number of coats
  • Time on ladder
  • Masking and clean-up time (splatter control)
  • Repaint cycle length (how long it stays mould-free and uniform)

A premium ceiling flat with strong hiding and low splatter can be cheaper overall because it reduces labour and reduces rework.

Common mistakes people make when buying anti-mould ceiling paint

Avoid these and you will outperform most DIY jobs immediately.

  • Buying anti-mould paint, but ignoring ventilation – Mould returns because moisture remains the driver.
  • Painting over active mould – The surface might look better for a short time, then the problem resurfaces.
  • Choosing the wrong paint for the room – General ceiling paint in a high humidity bathroom can fail early.
  • Underestimating staining issues – Water marks and smoke stains can bleed through without the right system.
  • Not planning pack size – Running out mid-ceiling forces stop-start edges that show under flat finishes.
  • Overworking the paint – Flat finishes can flash when re-rolled as they dry.

Buying checklist you can copy into a scope of works

Use this as a quick procurement checklist:

  • Room type assessed (general area vs wet area)
  • Moisture drivers addressed (fan, airflow, condensation)
  • Mould treated and removed (if present)
  • Surface cleaned and decontaminated (dust, oils)
  • Loose or flaking paint removed and feathered
  • Patches sanded smooth and dust removed
  • Primer decision made (new surface, stains, chalking, mixed surfaces)
  • Ceiling finish selected (premium flat with strong coverage)
  • Anti-mould requirement confirmed (bathrooms, laundries, condensation-prone rooms)
  • Product selected and sized correctly for continuous application

For a premium anti-mould ceiling specification, reference: Wattyl I.D Advanced Ceiling Flat within the Wattyl I.D Advanced Range.

FAQs: Anti-mould ceiling paint buying questions

Is anti-mould ceiling paint worth it?

No. You must treat and remove mould before repainting. Anti-mould paint is intended to help inhibit mould on the paint film after application.

Can I paint over mould if I use anti-mould paint?

No. Anti-mould paint is designed to inhibit future growth on the coating film, not to neutralise active mould underneath. Remove mould fully, then repaint.

Should I use flat or low sheen on a bathroom ceiling?

Flat is generally preferred for ceilings because it reduces glare and looks more uniform. The bigger decision is ensuring the product is suitable for humidity and has mould resistance where needed.

Why does my ceiling look patchy after painting?

Common causes:

  • Stopping and starting without keeping a wet edge
  • Applying uneven film thickness
  • Rolling over paint that has started to dry
  • Mixed substrate absorption (patches and old paint) without priming

What is the easiest way to avoid roller marks on ceilings?

  • Use a quality ceiling flat with strong workability
  • Maintain a wet edge
  • Do not overwork the paint as it dries
  • Keep your roller consistently loaded

If I have a laundry with no window, what should I prioritise?

  • Extraction fan and airflow strategy first
  • Mould and mildew resistant ceiling product second
  • Correct prep and dry time third

Do I need a special ceiling paint, or can I just use wall paint?

Use a ceiling-specific product. Ceilings need a flatter finish, strong hiding, and lower splatter to get a consistent result overhead.

Articles you may also like

News 30/04/2026
How to Paint a Bathroom Ceiling to Prevent Mould

Bathroom ceiling mould is one of the most frustrating problems ...

right arrow

We are here for you, ask us anything

Leave your enquiry and details below, and we’ll get back to you as soon as possible.